Back in about 1979 when I was newly married, a part work publication came out, with all sorts of lovely crafts in. I had always been interested in crafts so I subscribed to 'Busy Needles'. In these magazines (which I still have) there was sections on lacemaking, which I had seen done in Malta on a holiday, and which I thought I would like to learn. In those days we had a lovely craft shop in nearby Canterbury so I went over and bought a beginners round polystyrene pillow, some thread and a few bobbins. I covered the pillow with felt, and made a removable cover to go over the top. This was how my lacemaking adventure started :)
Some of my first attempts at making lace :)
I taught myself the basics of bobbin lacemaking from the lessons in the 'Busy Needles' and was very pleased with the results, in other words I was hooked on this as a hobby. At that time I was working in a small town Library, with occasional visits to a village Library nearby. One day a lady came in and asked if I was Val? I said yes, and it turned out that she had heard that I was interested in lacemaking and there was a small group of ladies thinking of starting up a lace group, was I interested in joining? Of course I was! I went to that lovely group for many years, we all shared happy evenings just simply making lace for a couple of hours a week
Samples, I try out a small piece of the pattern before I commit to it, these are Torchon and Beds lace samples.
The tiny piece of lace at the top left of these samples came from the Lace Magazine a long time ago. I love making this lace, it is tiny but so lovely to make, and was originally made in the Elizabethan times. I have made various lengths of this lace - it has been used to trim a wdding dress, and recently a length of this lace was used as a ribbon round a teddy's neck at another wedding. I love this lace but I don't have any of it for myself yet!!
The Beds butterfly complete - half of it can be seen on the samples photo above :)
In our part of the country we had a lovely lace making teacher who was called Lee Ault, who did evening classes teaching the craft, but after a while she hired a room in the Library where I worked so I also joined her classes, and learnt how to make Honiton Lace, I think this was in the 1980's.
Honiton Butterfly with 'raised' top wings
Honiton flower, I love this it is a 'happy' flower :)
Honiton mouse on a wheat stem, I made this for my lovely Mum, when she passed away my Dad gave it back to me. It has been on my wall ever since :)
I am not sure if I would be able to make Honiton Lace these days, you need good eyesight, and now I am getting older the lace seems to get smaller LOL
Also around that time lacemaking was enjoying a resurgance, there were lots of lovely Lace Days, where you could meet fellow lace makers and spend your hard earned money! I can remember going to one Lace Day driving through quite thick snow to get there, and on another occasion my friend and I travelled to a Lace Day the day after the Great Storm of 1978, avoiding fallen trees etc. just so we didn't miss one of these lovely days :)
More samples, the edging for my pin cushion is shown centre top, the piece in the middle and at the bottom show my first attempts at making leaves
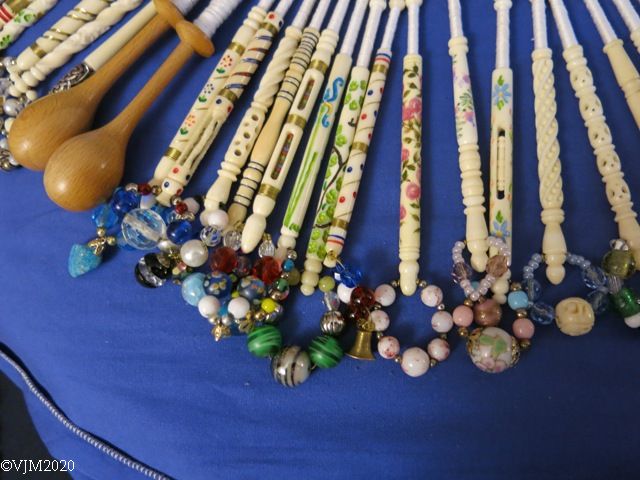
By 1990 I had tried Torchon, Beds, Bucks and Honiton Lace, I had a growing collection of lovely lace bobbins, a new home made block pillow, a bobbin winder and a lacemakers lamp, and lots of tools to help with the hobby. More about these will be in the next blog :)
An early piece of my lace, I painted the flower to go in the centre too :)
I started a beautiful Bedfordshire hanky with lots of 'leaves' in it, I hadn't long been making this when I found out I was expecting our first child, who turned out to be our lovely daughter who is now 29! I got 3/4 of the way round the hanky edging by the time our daughter was born. A new baby takes a lot of time, and it took me 6 months to do the last 1/4 of the edging. It is far and away the nicest piece of lace that I have made, I am waiting for our daughter to get married so she can use it on her wedding day, but no sign of that yet.
The practise piece for the hanky below is at the bottom of this photo :)
The Hanky!! Luckily my leaves had improved a lot by the time I made this. It took me two years to make, I take it out and look at it every now and then - did I really make this???
My son came along a few years later, and sadly the lace pillows, bobbins etc. were all safely put away. Small children, lace making bobbins and pins just do not mix!. I had to do some sort of hobby, so turned to cross stitch and knitting while the children were growing up, but hoped that one day I would get back to my lacemaking.
Binche lace samples, I am hoping to do some more of this when I can.
The next blog will cover the equipment used and of course the bobbins :)


